What the job involves
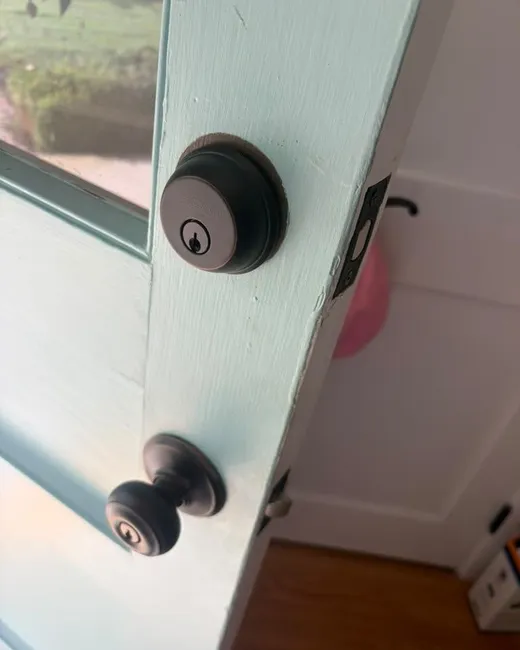
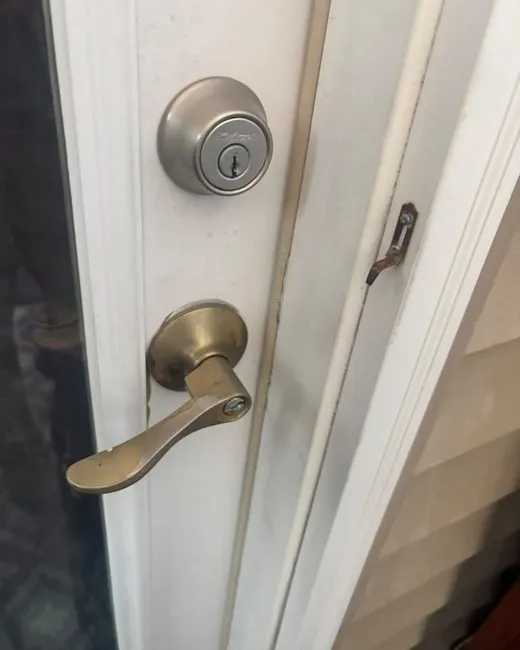
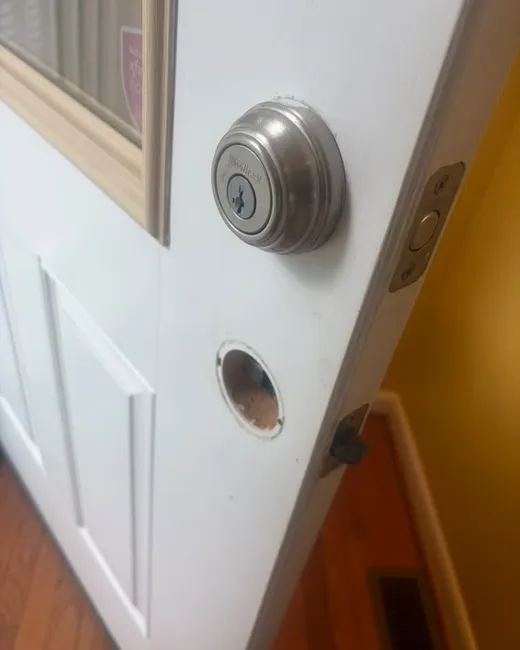
Repair begins with a hands-on inspection of the lock cylinder, tailpiece and boltwork. The process commonly includes disassembling a bored or mortise cylinder, checking pin stacks and their springs for wear or corrosion, measuring the spindle and cam for deformation, and testing the latch and deadbolt throw against the strike plate. Worn keyways, sheared screws, and stripped tailpieces are pointed out before any part is replaced. If parts can be reconditioned, pins and springs are replaced, worn parts swapped, and the cylinder rekeyed or shimmed. If the housing or bolt is badly distorted, replacement of the cylinder or the entire lock case is recommended.
02
What tends to cause it
Common causes of failure are mechanical wear, misalignment, and damage from forced use. Pin springs fatigue after thousands of cycles and allow keys to bind; thin, stamped latch assemblies bend under side load; salt or road grime causes corrosion that flakes inside the cylinder and jams pins. Door sag and loose strike-plate screws change the bolt’s engagement angle so the bolt scrapes rather than seats. Badly cut or nicked keys can snap off inside the plug. Recognizing the failure mode guides whether parts are repaired, replaced, or the cylinder rekeyed.
03
Making it go smoothly
To make a repair go smoothly, have the door propped open and clear the swing path, and keep any original keys available and separate from duplicates. Remove escutcheons or knob collars only if you can do so without forcing screws; otherwise leave them intact for the person doing the work. Note whether the lock is a mortise unit, rim cylinder, or bored cylindrical lock and, if known, the brand stamped on the faceplate or cylinder. If corrosion is visible, avoid forcing the key and use short, firm turns to minimize further damage. A quick description of symptoms and the exact door handing saves troubleshooting time.